

Monday, August 31, 2015
Renewed life - girl with a towel
Experimenting with inks.
New colors from the Tim Holtz line of walnut inks and distress inks has led me to play around with simple landscapes. I love the simple elegance of these, although I'm probably alone in it. It's in my "Peaceful Places" series. Here are a few samples done in the last couple weeks.

 The first two are with walnut inks and water. The top one was sold at the gallery ,
 Now I added in a little distress ink and more water.

 The Turner exhibit is showing in San Francisco right now. I have not been there, but I have a book of his watercolor landscapes that I'm sure have influenced my choices of colors. He is such a master and has great control.
One the other hand, there is something to be said for letting it all do whatever it wants, and then tweak it a bit. LOL
I have more colors ordered. They will be here Thursday for our meeting, and I'll be anxious to get back to the studio for another batch of experiments. So far I have not ventured further than neutrals.
the cat came back
 Because it was on my bucket list, I decided to paint with only a palette knife. so, here is the cat again. Before it went so colorful, I thought I might add it to the "Peaceful Places" series. Maybe I need to do it in walnut inks. hmmm.......
And while we are on the subject of cats - here is a snap of Helen's daughters green eyed cat. I've never seen one before. Either Helen or I will paint it. Maybe both of us. Doesn't it look like it's got contact lenses? Wouldn't that be a trick, trying to put contacts on a cat?
Maybe you want to paint her too. she's so lovely. Thanks for sharing Helen.

Sunday, August 30, 2015
Smiling through
 Took quick trip to the touristy part of Lodi yesterday and came home with this full moon made of painted tin purchased at Country Living at their Haunted Hollow event. They have one in the front window on the back of a rustic bench. Looks really cool there. Got him in plenty of time for Halloween and think he's so cool, he may stay up through other seasons as well. Patti took this with her Iphone.

Friday, August 28, 2015
Sleepy cat

 I took this snapshot of the cat dozing on the rickety old deck/porch in Walnut Grove back in the 80s. I decided to scan it today and consider it for a painting subject.
When I blew it up on the screen, I knew I'd have to paint it quick. I grabbed my Pigma sepia tone brush pen and watercolor pad, and set to work. Very quickly. Then three colors of paints very loosely applied. I have captured the essence of it. Will do it again when I'm down in the studio. Actually what I'm going for is the look of a looser oil painting/sketch only with acrylics. i would have preferred using a heavier bodied paint and a palette knife. Maybe later.
I thought the Pigma pen was water soluble and was expecting the ink to bleed into the paint. I see that it is a permanent ink so can't count on the blending of the lines with the paints. Maybe I'll use a different pen and see how it works next time. .

Mail Art - evelope
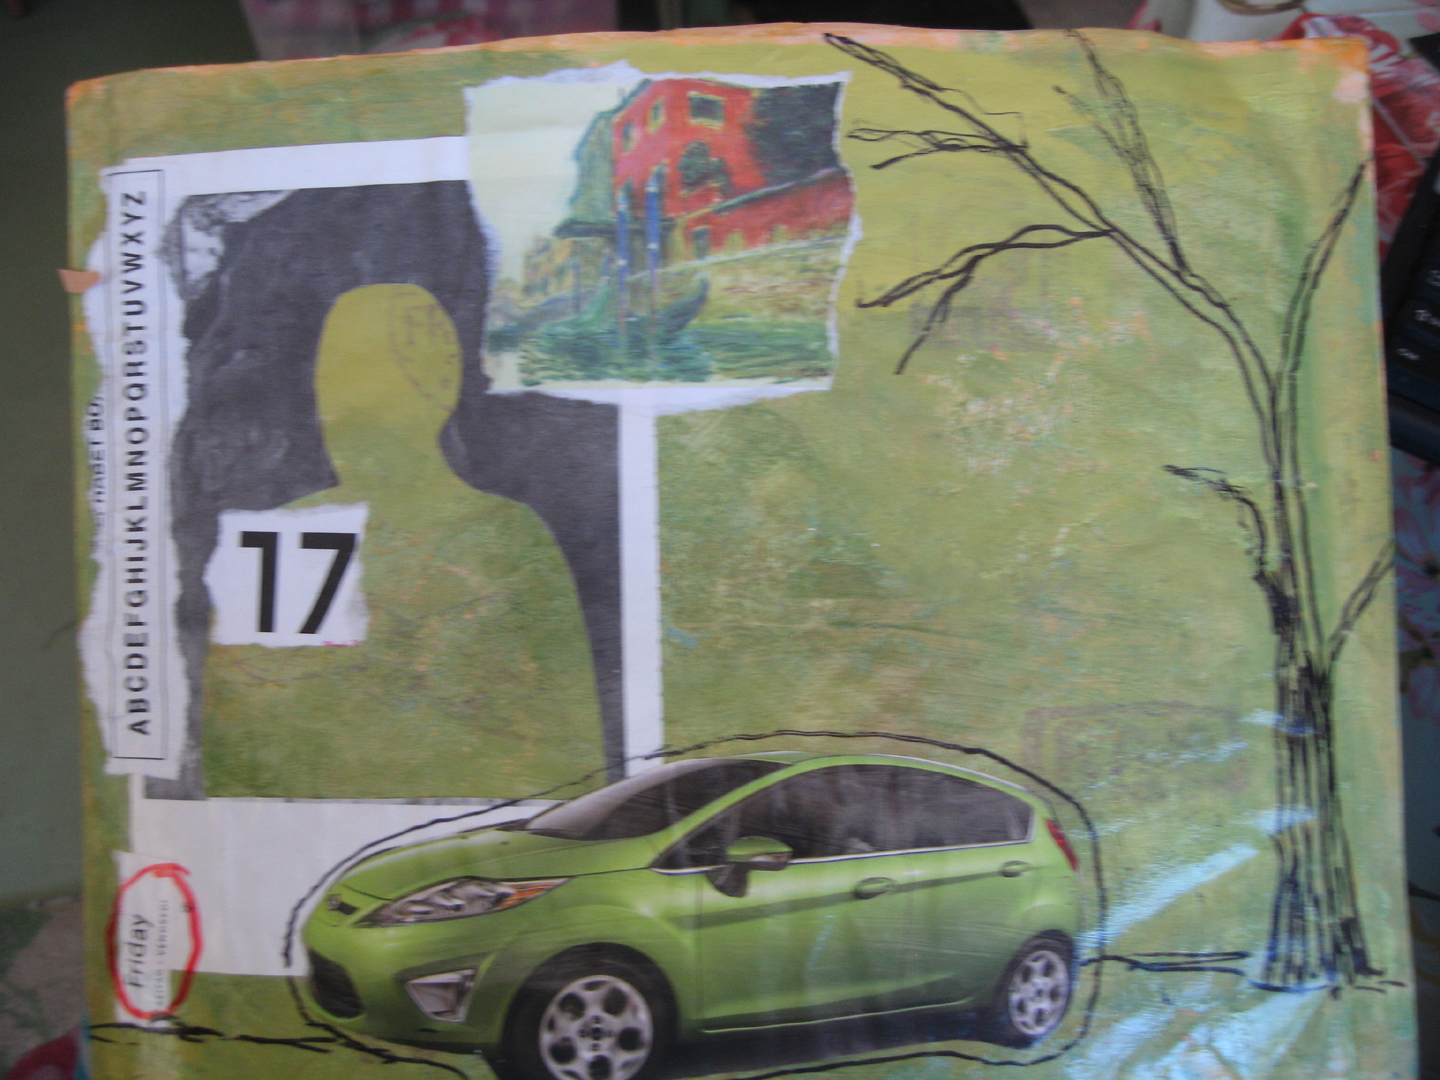 I joined a group to swap art journal pages, but the group is a Face book group, and I just cannot maneuver around there. But, I had already signed on to swap some ephemera, so wanted to get that commitment out of the way before bailing out. Here is the envelope I sent the goodies in. Using up scraps and stuff from messy work table. BTW - it's cleaned off again. LOL
 Off it went and in return, aen envelope full of ephemera arrived to my delight.

Saturday, August 1, 2015
An old technique revisited.
At art camp years ago, I taught shaving cream marbeling. Later my friend Roberta taught us to marble with starch as a base and diluted paints. I got interested again, as I was going through my stash of supplies and realized I could use some up with a little workshop in Lodi for the mixed media gals. good ness knows I have inks. But I did not have starch. Thought I'd pop in the dollar store and pick some up - but starch is not a popular item now, and I had to go to pricey grocery store to get it for nearly $5.00 a jug. It's a smaller jug thatn it used to come in - and it has gone the way the price of eggs has - up and up and up.
 Anyhow, armed with these supplies, lots of paper samples, trays, stirrers, etc. the mixed media gals had a fun day playing with it all. At first we had very little success, in fact it was pretty dismal - but apparently the starch needs to sit for awhile. I think it has to do with surface tension. At first the paints just dropped to the bottom. We needed it to float on the top and spread. When we finally were cleaning up, we just started tossing paints into one batch of starch and all of a sudden it was floating and spreading just as we hoped. Some of the gals tried different papers, including paper towels and napkins. Wow, these were cool. We got realty indiscriminate with colors and materials at this point in a rush to finish up. These ended up being the best work of the day. LOL You just never know......
This first photo shows two pieces from the starch tray.
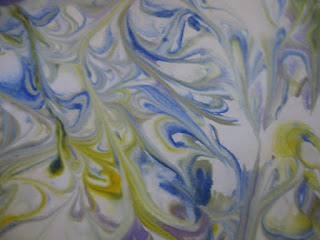
 The next day was a scorcher, weather wise, so wanted to stay inside and play with art materials. These next ones were done with shaving cream and old inks from stampin up reinkers.

 These were done in series, as I pulled maybe half a dozen from each tray. The darker ones are from the first pull, then successively lighter until the colors all run together.


Some of the gals are trying other methods and we will have another play day with these materials next week to see if we have learned anything. The shaving cream is not as heavily scented as it was years ago. Some of those papers still retain a little of the scent.
 Anyhow, armed with these supplies, lots of paper samples, trays, stirrers, etc. the mixed media gals had a fun day playing with it all. At first we had very little success, in fact it was pretty dismal - but apparently the starch needs to sit for awhile. I think it has to do with surface tension. At first the paints just dropped to the bottom. We needed it to float on the top and spread. When we finally were cleaning up, we just started tossing paints into one batch of starch and all of a sudden it was floating and spreading just as we hoped. Some of the gals tried different papers, including paper towels and napkins. Wow, these were cool. We got realty indiscriminate with colors and materials at this point in a rush to finish up. These ended up being the best work of the day. LOL You just never know......
 This first photo shows two pieces from the starch tray.


Some of the gals are trying other methods and we will have another play day with these materials next week to see if we have learned anything. The shaving cream is not as heavily scented as it was years ago. Some of those papers still retain a little of the scent.
Subscribe to:
Posts (Atom)

