
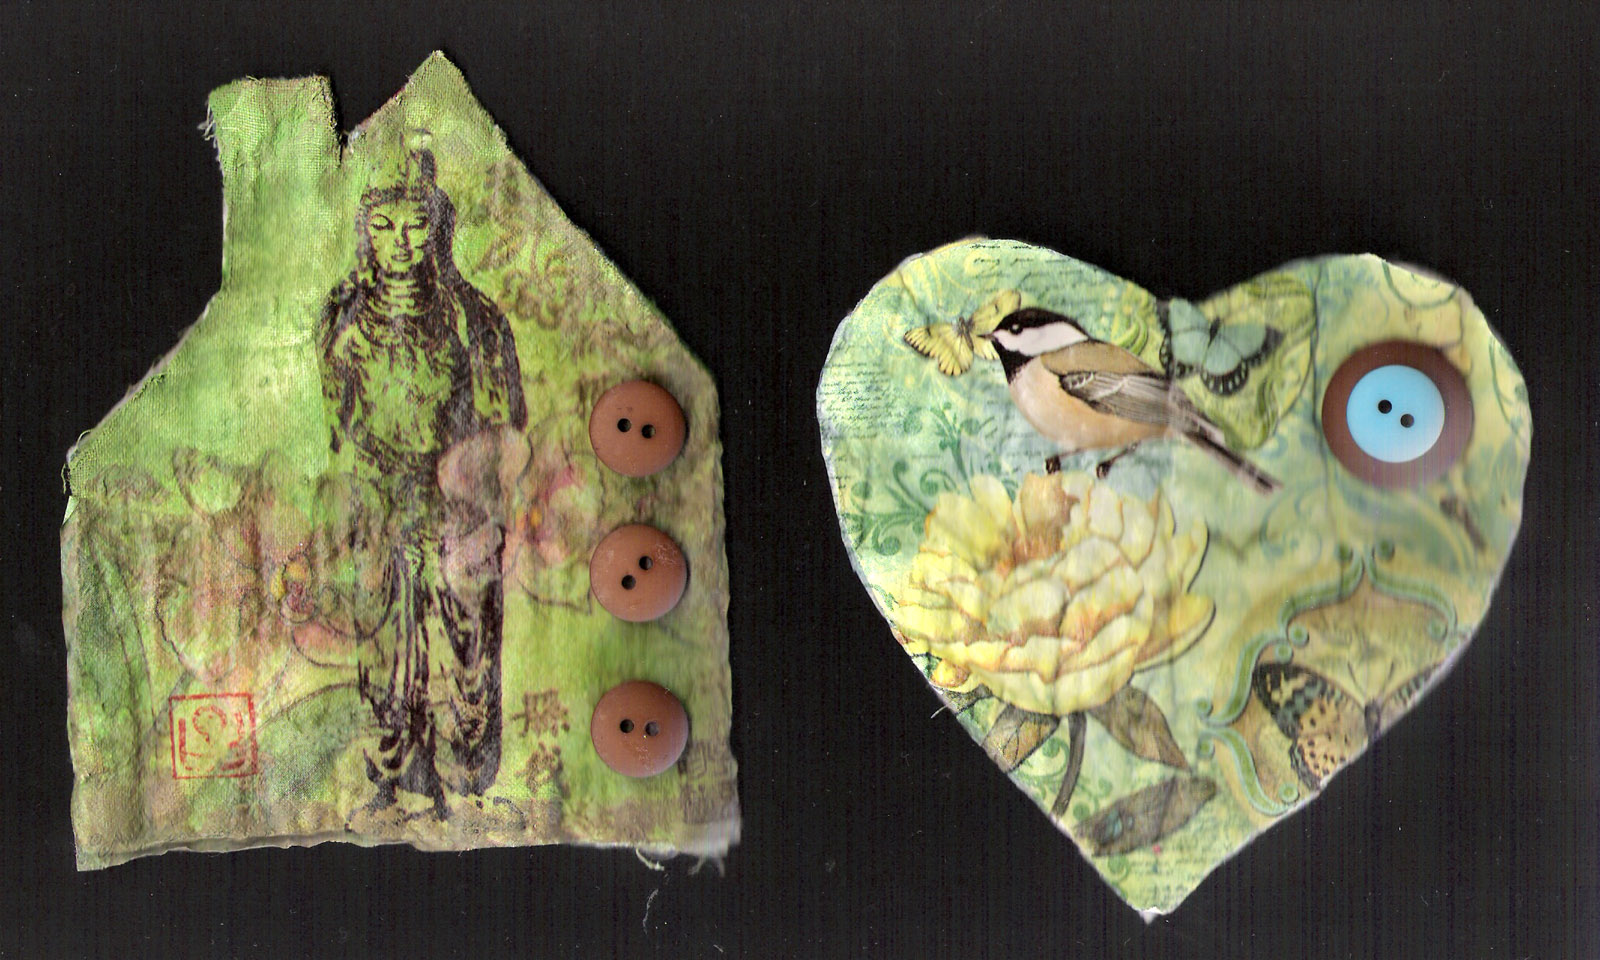


One of you asked for better pics of the project we did last week at a friend's house and a better description of how they were done. Here are some I just scanned. Again, these are pieces of an old quilt cut up. Then they are painted with one or two coats of liquid gesso and allowed to dry thoroughly. We had some hot days just then and they dried quickly in the sun on my deck. We used craft paints, and paper napkins for color and for the images and designs. Sometimes from several different ones on a piece. I also used little bird cut outs from a bird book. I keep buying those bird books at book sales, and always have a bunch cut out, tucked into a vellum envelope so I can see them and use them whenever I need a bird.
If you have not worked with paper napkins, it is much like working with tissues. In fact tissue would have worked just as well except this is what we had. Many of us collect paper napkins for the images. If you serve me a cookie on a pretty napkin, you'll see me tuck it into my pocket or purse to use later! LOL Just can't help it. TJ Max and Tuesday Mornings are two of the best sources for inexpensive paper napkins in wonderful colors and designs. Gift shops, museum shops - they can be found most anywhere. And there are so many in a package you can share them with your friends. We had a napkin swap the day we did this project. We brought extras to share and picked up some from friends who had brought spares along.
Getting back to tutorial - you need to peel the napkin layers apart - most have three layers. Sometimes it's hard to pick them apart, but if you tear it somewhere, you will see the layers. Grasp the layer and pull. You might see a light image on an inner layer and want to use it somewhere. I usually use the extra layers to clean or dry my brushes.
This is now ready to use as a collage element. Lay out torn or cut images on your piece, and get it arranged how you like it. Then use a white glue that will dry clear, or a gel medium liquid and coat the gesso/painted piece. Lay the napkin piece/s on carefull. I pat them down into the glue gently, then pick up some more glue on a brush and tap it over the piece to make sure it is coated. Be careful because the napkin get's soft and mush and will tear if you try to brush over it. You can peel it off, if this happens, or glue something else over it after it dries.
After it dries, I sometimes play a little with paints to blend the background to the collage elements paying particular attention to the edges . I'm sure you could also use inks. You can also write on them with permanent pens or with pencils. Make them your own. You may wish to add embellishments such as buttons, rik rak, ribbons, or other charms and beads. I hope you enjoy doing them. If you don't have an old quilt to cut up, you can do these on canvas, cardboard, or other surfaces.
This is just a fun little project. You can string them together, or make little wire handles to hang them from, or stitch them onto something. Or throw them into a basket where you and your guests can handle them at will. They fit nicely in envelopes to mail to friends.
Here are the new pics.


No comments:
Post a Comment